How to Use Embossing Folders?
Embossing folders are a popular tool used by many crafters and are an excellent way to add texture and dimension to your papercrafts. Embossing folders come in a variety of patterns and designs, making it easy to create unique and beautiful projects. If you're new to embossing, don't worry; it's easy to get started, and in this blog post, we'll walk you through how to use them.
Next, place the sandwich on the base plate of your cutting machine. For most machines, the sandwich order should be the base plate, cutting plate, embossing folder with paper, and another cutting plate on top.
Embossing folders are a versatile tool that can add interest and texture to any paper craft project. By following these five simple steps, you can easily create beautiful and unique embossed designs on your paper crafts. With so many patterns and designs to choose from, they offer endless possibilities for your next project. Give them a try today, and see what beautiful results you can achieve!
Step 1: Prepare your materials
Before you get started, you need to gather your materials. You will need an emboss folder, a piece of paper or cardstock, and a die-cutting machine. When selecting an emboss folder, choose one that complements your project's theme or design. There are countless options to choose from, so consider your project's color palette and style when making a selection.Step 2: Sandwich your materials
Once you have your materials ready, it's time to create your sandwich. Start by placing your folder on your work surface with the design side up. Then, place your piece of paper cardstock on top of the folder, ensuring that it covers the design completely.Next, place the sandwich on the base plate of your cutting machine. For most machines, the sandwich order should be the base plate, cutting plate, embossing folder with paper, and another cutting plate on top.
Step 3: Run your sandwich through your die-cutting machine
Now that your sandwich is assembled, it's time to run it through the die-cutting machine. Turn the handle to feed the sandwich through the machine, applying pressure as needed. Every machine is different, so refer to your machine's instructions for guidance.Step 4: Remove your project from the embossing folder
Once you have run your sandwich through the die-cutting machine, it's time to remove your project from the emboss folder. Gently lift the paper out of the folder, and you should see the design and texture created by the folder.Step 5: Incorporate your project into your craft
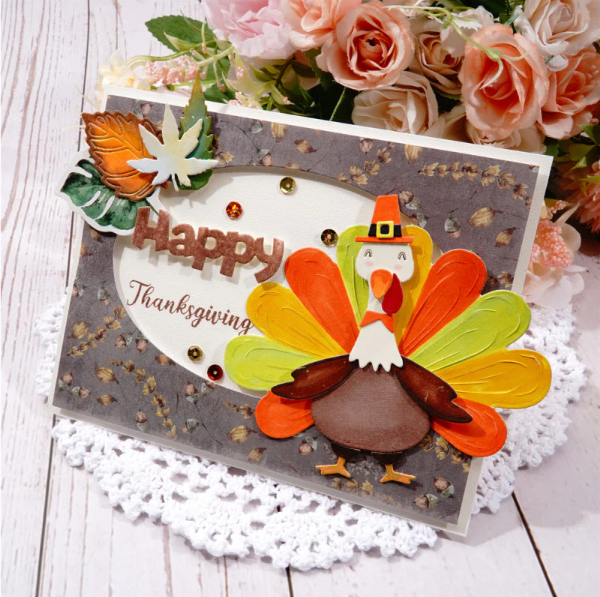
Now that you have completed the embossing process, you can use your project in your paper crafts. Embossed paper can be used as a background, as elements on handmade cards, or as part of scrapbook layouts, among other things. Experiment with different ways of using embossed paper to see what works best for your project.Embossing folders are a versatile tool that can add interest and texture to any paper craft project. By following these five simple steps, you can easily create beautiful and unique embossed designs on your paper crafts. With so many patterns and designs to choose from, they offer endless possibilities for your next project. Give them a try today, and see what beautiful results you can achieve!


Leave a comment