How to Seal Letters with Wax Seals
After finishing your gift card, invitation card, or decorated letter, you might want to put it in an envelope rather than giving it directly to the correspondence. Then it's a great idea to add a wax seal to your letter or envelope, which adds an elegant and personalized touch and harks back to a time of sophistication and romanticism. If you want to elevate your correspondence with a wax seal, this blog post will guide you how to seal letters with wax seals.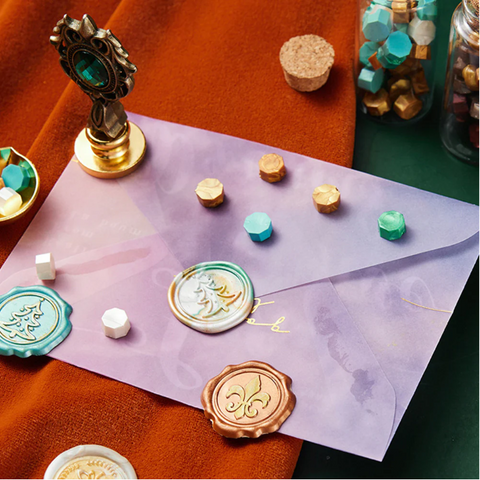
Supplies You'll Need:
Wax sticks or beads: come in various colors and are specifically formulated for wax seals. Choose one that reflects your style and suits the occasion.
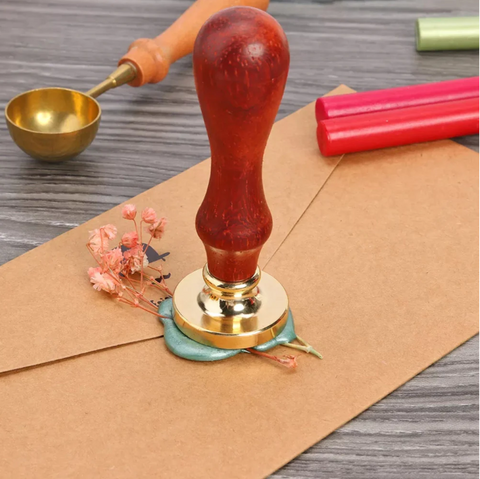
Wax seal stamp: A personalized or decorative stamp is used to create the impression on the wax seal.
Heat source: You'll need a wax seal melting spoon or a heat gun to melt the wax.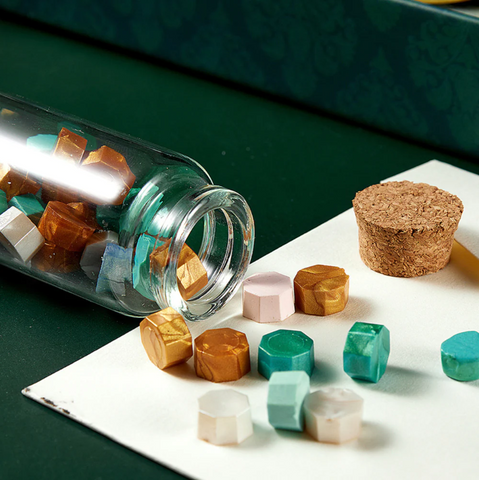
Step-by-Step Process:
Prepare your workspace: Start by ensuring you have a clean and flat surface to work on. Place a protective sheet or parchment paper to catch any excess wax.
Assemble your materials: Gather all the supplies mentioned above. Ensure the wax seal, wax sticks or beads, wax seal stamp, and heat source are within easy reach.
Prepping the wax: If you're using wax sticks, choose one of your desired colors and cut it into small pieces. Place the wax pieces inside the spoon or melt them in a designated container. If you're using wax beads, simply pour them into the spoon or melting container.
Melting the wax: Hold the spoon or container over the heat source (a candle flame, heat gun, or specialized wax melting tool); heat the wax until it liquefies. Stir gently to ensure even melting. If you're using a heat gun, keep it at a safe distance to prevent scorching or burning the wax.
Applying the wax: Once the wax has melted completely, pour it slowly onto the desired spot on your letter or envelope. It's best to start with a small amount, as it's easier to add more wax if needed. Aim for a circle or oval shape, ensuring it's large enough to hold the seal but not too big to overwhelm the page.
Positioning the wax seal stamp: While the wax is still molten, gently press the wax seal stamp into the center of the wax. Apply firm and even pressure, making sure the stamp is level and straight. Hold the stamp in place for a few seconds to allow the wax to set slightly.
Removing the stamp: Carefully lift the wax seal stamp straight upward, avoiding any twisting or wiggling that may distort the impression. Give the wax a few moments to cool and solidify further.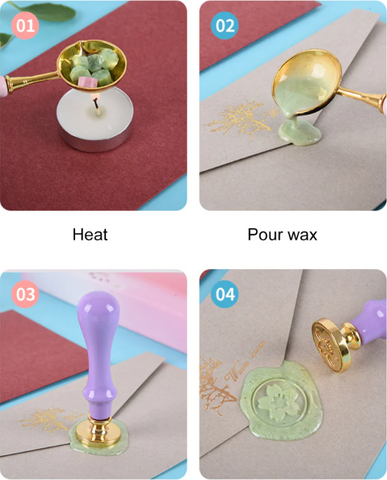
Optional: If desired, you can add additional embellishments to your wax seal, such as small dried flowers, snippets of ribbon, or a sprinkle of glitter. Simply place the embellishments onto the wax before it fully hardens, gently pressing them into place.
Tips and Considerations:
Practice on scrap paper or spare envelopes before sealing your actual letters to ensure you're comfortable with the process and achieve the desired results.
Experiment with different wax colors and seal designs to add a personal touch to your correspondence.
Avoid touching the wax while it's still hot, as it can cause severe burns.
If you don't have a wax seal stamp, you can use other items like a circular or decorative object to make an impression in the wax.
For a vintage-inspired look, consider giving the wax seal a slightly distressed or aged appearance by gently patting it with a cloth or lightly sanding the surface.
Conclusion:
Sealing letters with wax seals is a charming and elegant way to make your correspondence feel extra special. By following these step-by-step instructions, you'll be able to create beautiful wax seals that add a touch of romance and nostalgia to your letters. Enjoy the process, experiment with different colors and designs, and let your creativity shine through your wax-sealed letters.
Happy letter writing!

Leave a comment