Making Tutorial: Branch of Flowers Cutting Die
Recently it is getting colder and colder, in such weather, we can not just stay in the house and do nothing to keep us warm. This will only make us feel colder and colder. So we need to get our brains and our hands moving so that we can feel gradually warmer. But going outside to exercise in this kind of weather is not something that people are likely to do. But we can try to do some small exercises and activities indoors. That's right, I'm talking about using a cutting die to make cards.
The card I want to bring to you today is made with a flower cutting die. When we are in the winter, we should look forward to the arrival of spring. So let me lead you to make such a spring style card!
What tools do we need to prepare before making
- First of all, we need a cutting die machine, which is the most necessary
- I chose to use the Kokorosa Branch of Flowers Metal Cutting Dies, you can also use other plants cutting die for the spring meaning instead.
- We need markers with spring colors, such as blue, green, or pink.
- We need to prepare a plain white cardstock
- We need an embossing folder, I recommend these for
-
Prepare a clear stamp
- Prepare liquid glue, while you can prepare some stickers, I used
Points to note when making
- When using the cutting die machine, we can put some scrap paper under the cardboard we need to cut. This can effectively prevent the situation of the cutting die machine can not cut out the cutting die you want when cutting.
- When using liquid glue, if the position is not right when making, liquid glue will not solidify particularly fast, so in the fixed cutting die can be constantly and slightly adjusted the position of the cardboard placement.
Steps of making Branch of Flowers Cutting Die
Step 1: Take out your cutting die and check if the prep tools are ready.

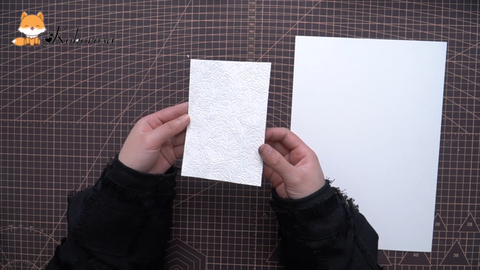
Step 2: Use the embossing machine to print the embossing folder pattern on the cardstock
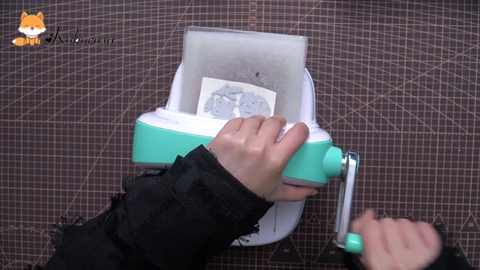
Step 3: Use the cutting die machine to cut out the various parts of the cutting die
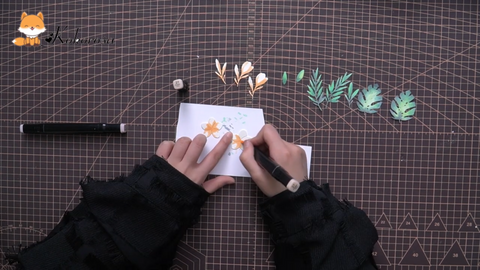
Step 4: Take out your markers and color the cutout cardstock. When coloring, be careful not to use a color directly on the entire cardstock, it will make it look stiff. I took a gradual coloring logic when making the card.
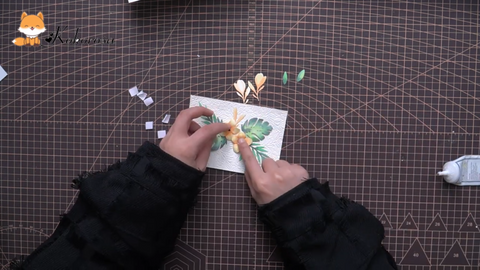
Step 5: Use liquid glue to combine the corresponding parts on your printed cardstock, if it's a botanical cutting die, I recommend putting the flowers in the middle of the card and the green leaves around it. I made the flowers with the petals curled a little bit on purpose. This is to imitate the shape of the real petals.
Step 6: In the lower-left corner of the cardstock I put a sticker of "bloom" you can directly use the stamp and gold powder to print the word on the paper
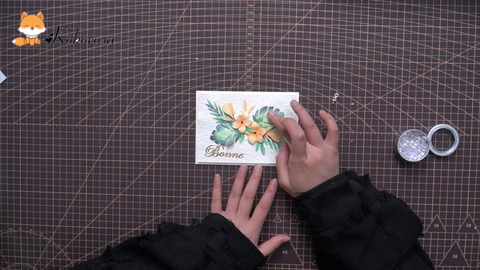
Step 7: To create a real spring feeling, I especially pasted some stickers similar to small drops of water on the leaves by a die pick which will make the card look more vivid!
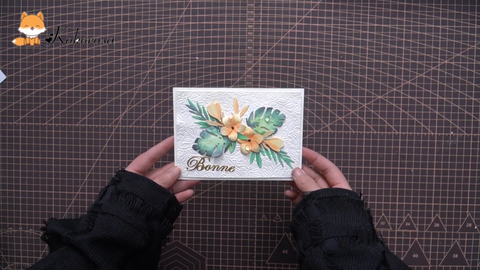
The finished product after the production show
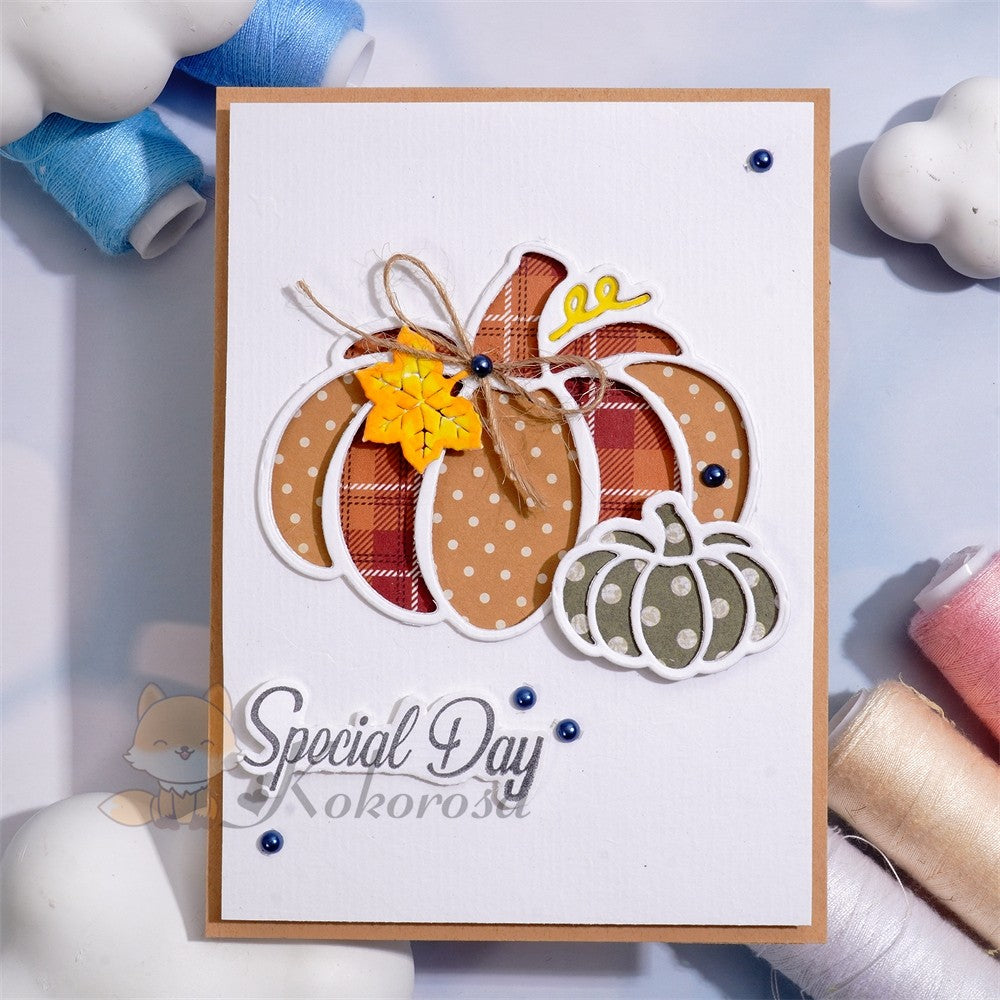
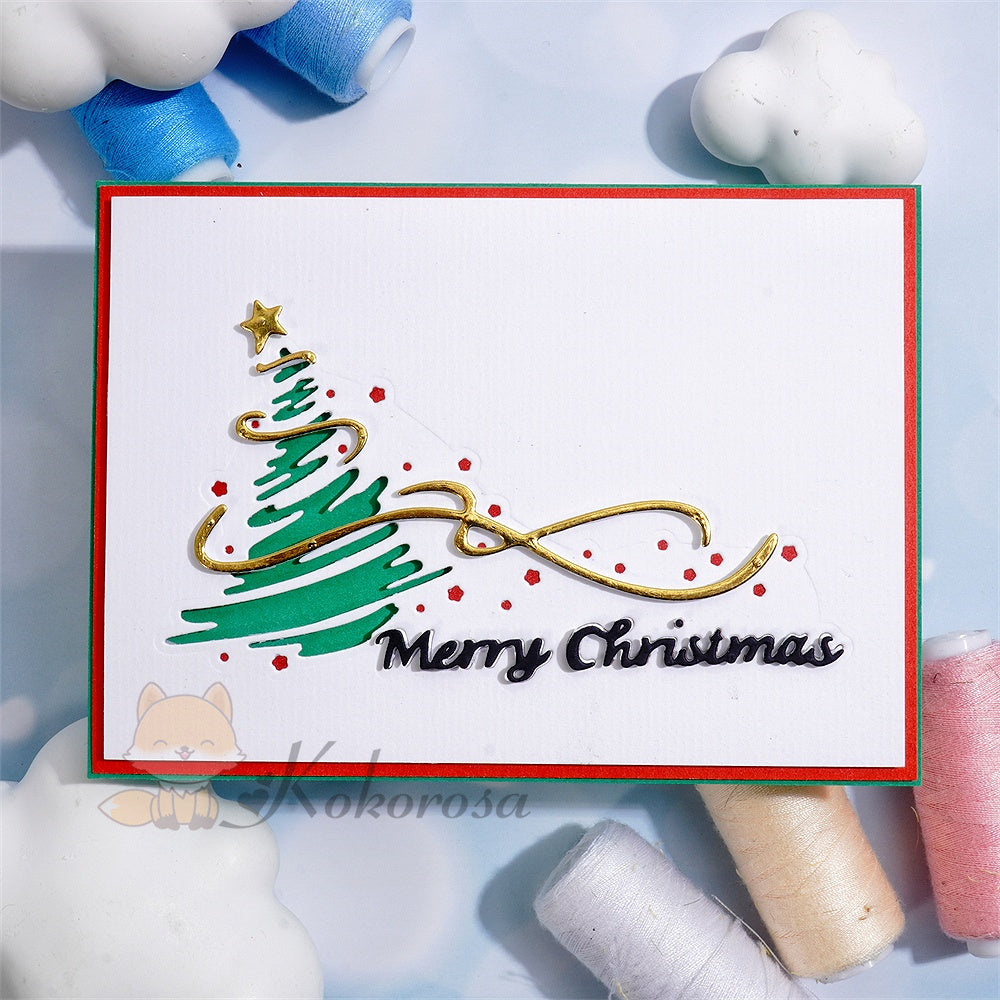
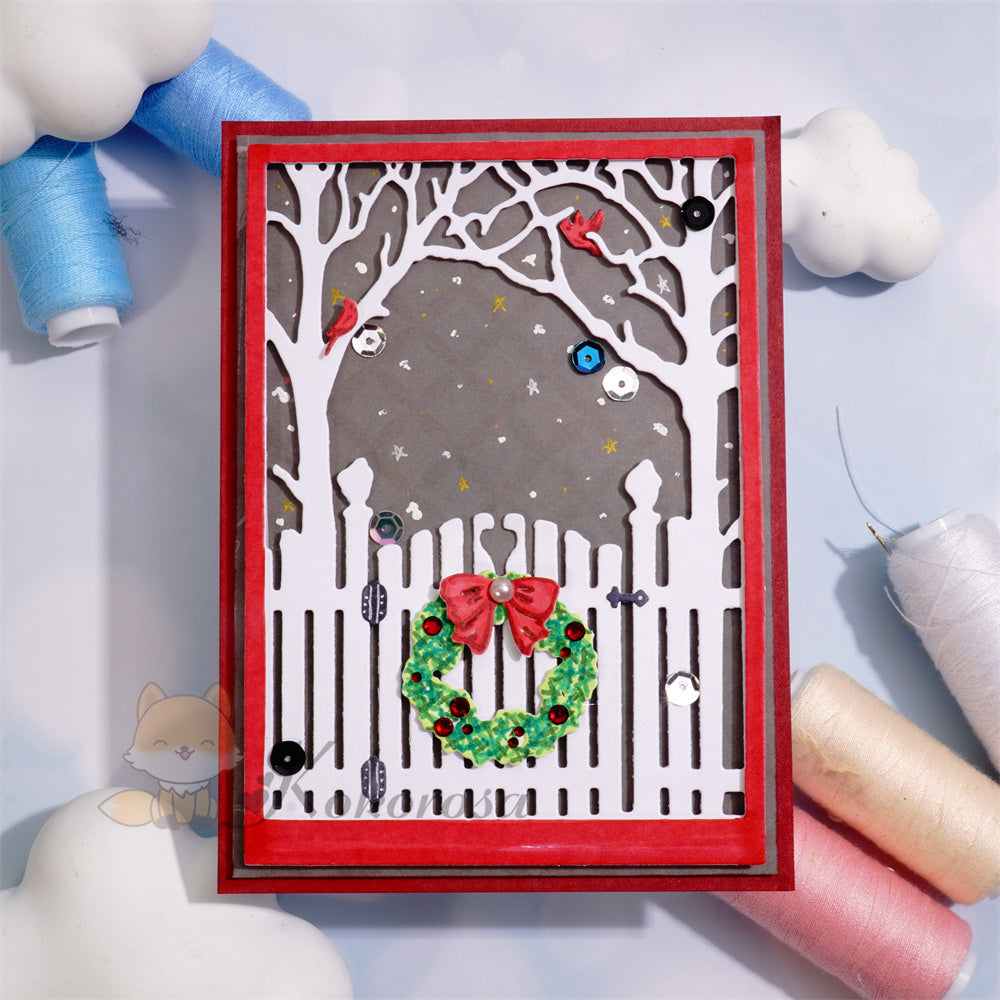
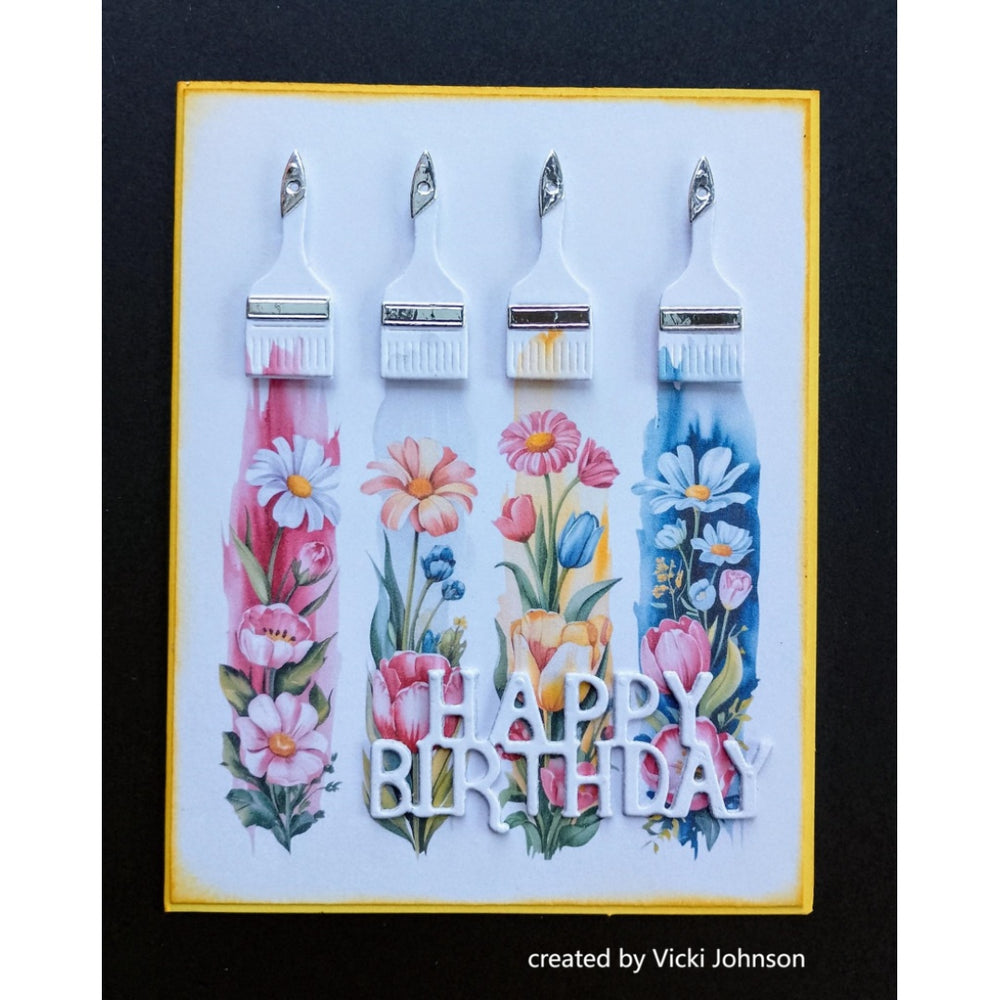
Well, this is a very vivid card to represent spring, I hope you will like it. Meanwhile, I bring you some finished pictures of this card below, so you can enjoy it.


If you have a better idea, you don't have to follow my tutorial to make a card. cutting die requires more than just one's nimble hands, it's the creativity of the card design that determines whether a card is attractive or not. What I hope is that after reading my tutorials, you can go further to discover the potential of these cutting dies. If you like this blog, you can leave your comments in the comments section below. If you have any other cutting die that you haven't got a clue about making yet, please feel free to leave your comments in the comment section! I will still bring you some new arrivals in the next blog, don't forget to come to the website to read my blog!




Do you have to have a computer to use your die cutting machines or an I pad? Do any not need an computer ?
Leave a comment