MAKING TUTORIAL-----CUTTING DIES WITH LEAVES BORDER AND CUTE BIRD
Hello Everyone~
It’s time to share our making tutorial about cutting dies every week again. Today I will show you a lovely bird with the leaves border outside.
I will introduce you about the tools needed in the project first:
I will use the "Kokorosa Metal Cutting Dies With Leaves Border and Cute Bird" mold to make the project.

Before I make the project, I die out the frame border and cute bird with a cutting machine and white handmade paper.
After that, I color these parts with the marker pen. I choose yellow for the bird and black for the swing. I draw the frame border with brown, yellow, and orange so that it has the gradient effect.

I paste the frame on the colorful scrapbook paper with foam tape.
Next, I stick the bird and swing under the branch with the help of craft glue.

Then I cut a black handmade paper to be the background of the project.
Stick some foam tape behind the colorful paper and paste it on the black one. The project is almost finished.

You can choose the color of the project as you like. The spring may come soon and try to make this project by yourself. Wish you have a nice day.
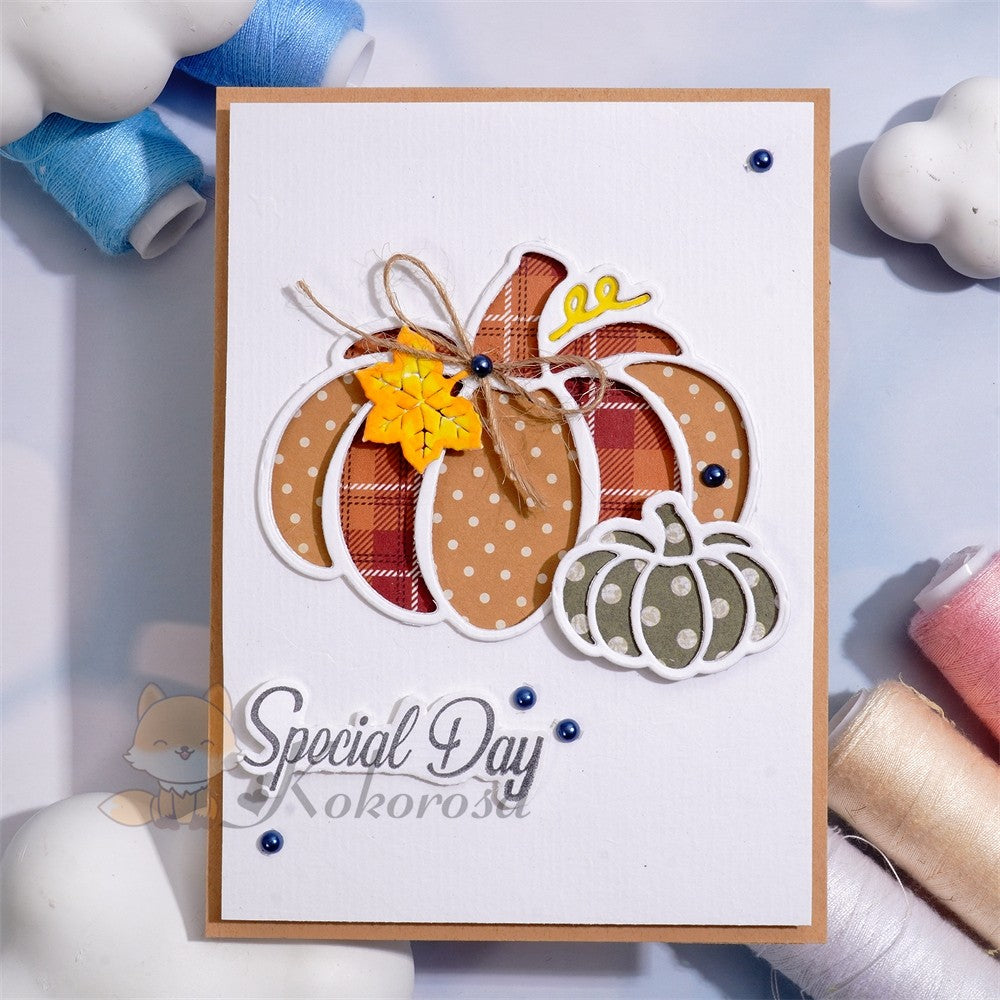
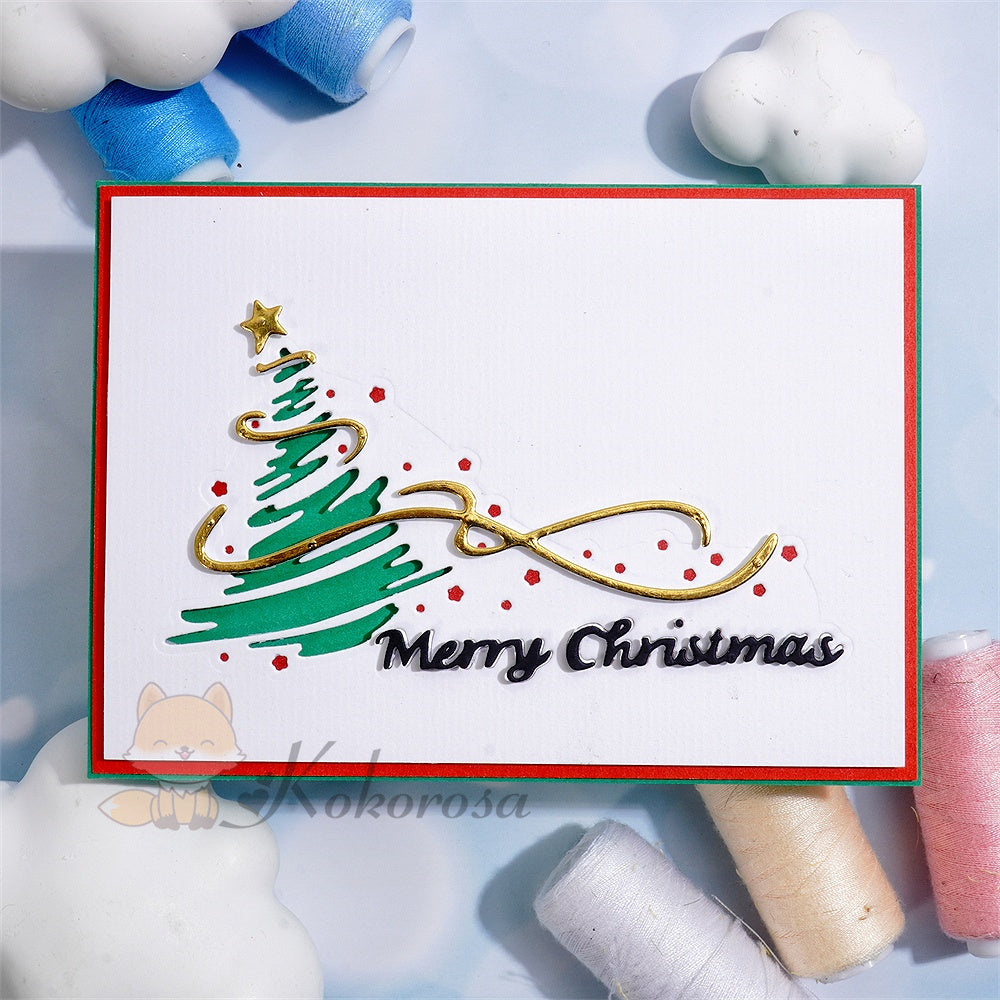
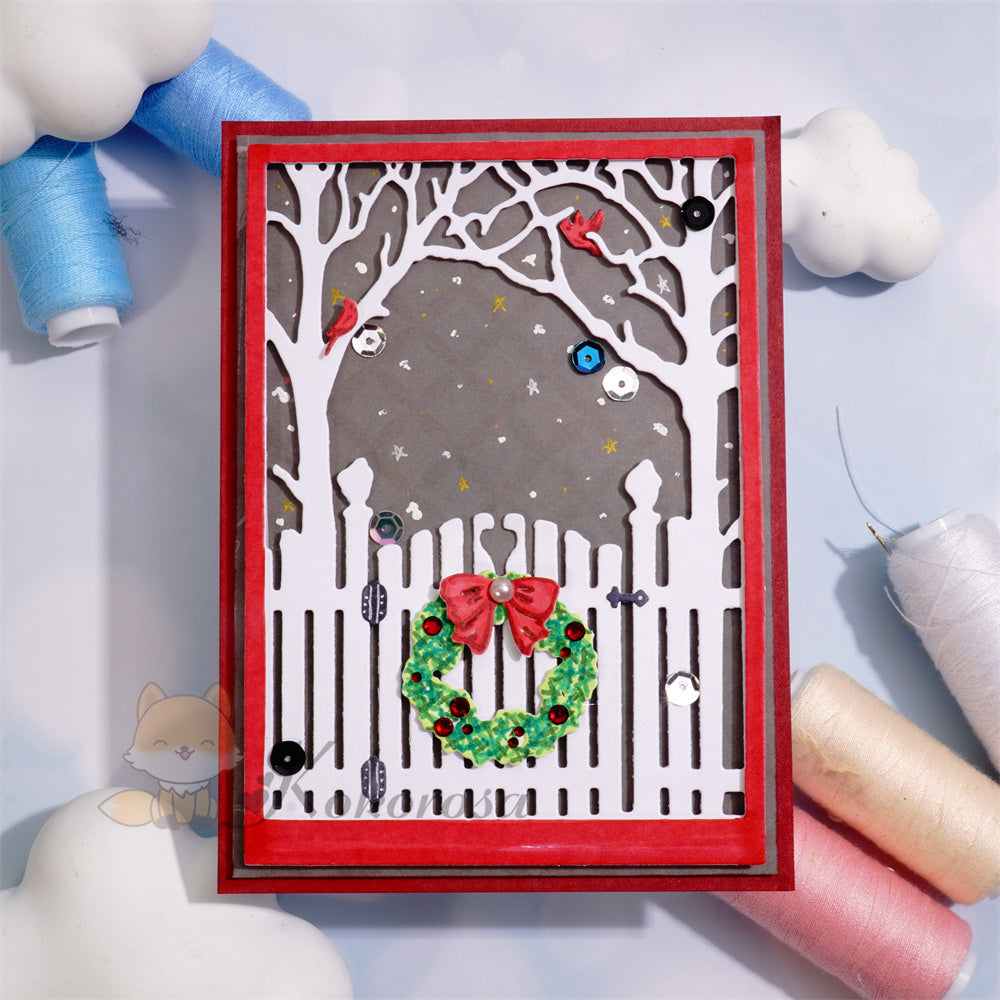
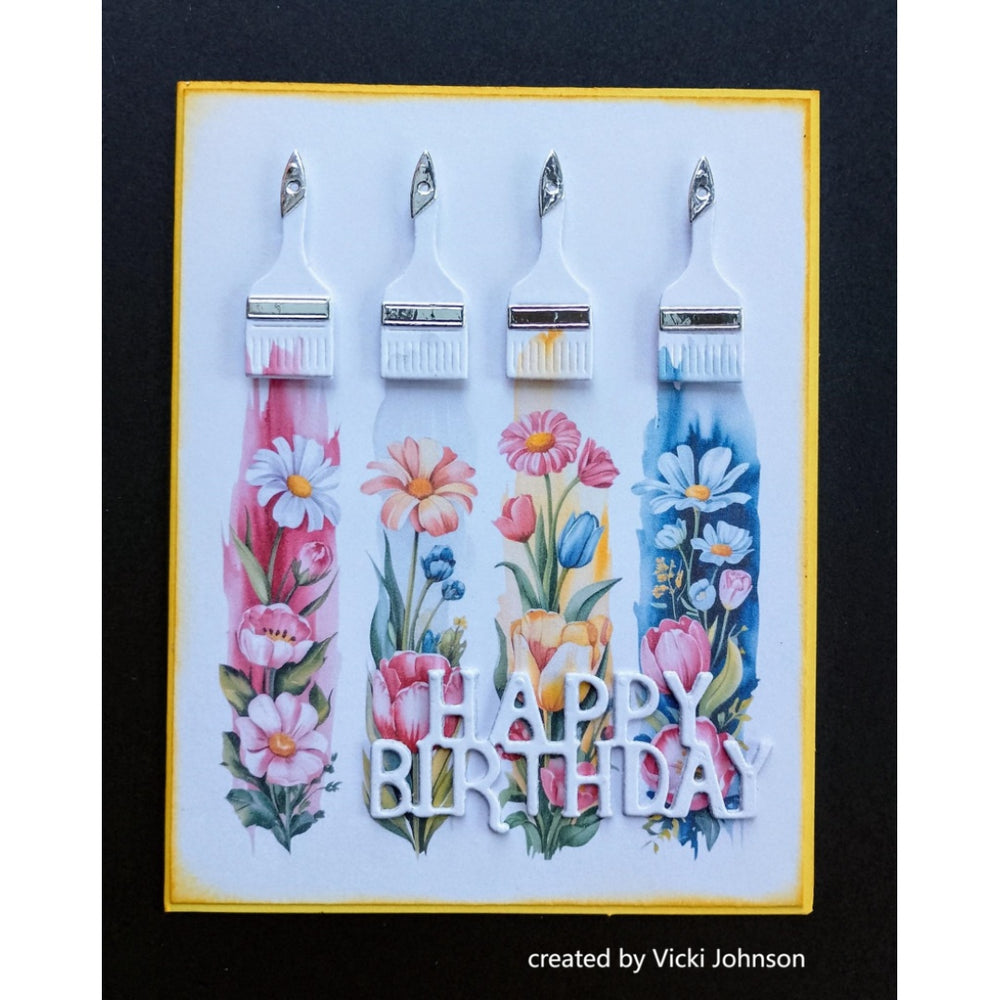
Other works:

Video of the production process:
Supplies:
Kokorosa Metal Cutting Dies With Leaves Border and Cute Bird: https://bit.ly/3GH0fJF
Paper Collection: https://bit.ly/3fT4WnX
Kokorosa Simple Style Medium Manual Knurling Machine Die Cutting Machine: https://bit.ly/3qGeuIW
Kokorosa Double-sided Film Tape - 39 Feet: https://bit.ly/3fDGSFm
Kokorosa 30 Colors Marker Pen with Storage Bag: https://bit.ly/35febfT


Leave a comment