Newest cutting dies recommended for you
How are you going today, my craft friends!
I’m so glad to see you here again! You get good luck because I will show two tutorials of newest cutting die by this blog. These cutting dies related to animals, and your daily life.
The first project I want to show you is the horse border and riding clothes dies. You can combine the two dies together. Now, you can follow me to create this project!
1. Prepare two different colours of cardstock paper. I choose the white and black paper. In addition. In order to create a better background, I selected another background paper, including green paper and full moon at night patterned cardstock paper.
2. Cut out the horse border firstly. Then, adhere the black one to the white one with liquid glue.
3. Create the background of board. You need to adhere the full moon at night paper to the black paper.

4.Then you need to stick the horse borders to the green background paper with double adhesive tape.


5. Cut out the riding clothes pattern. You can use die pick to get clear patterns.


6. Repeat the step2 and we need to get two colors of riding clothes patterns. The black riding vest match the white shirt, which look more handsome.
7. Then we need to stick the riding clothes pattern to the green paper.

8. Next, stick the green paper to the black paper. And cut out the extra paper with paper cutting machine.


The second new project I want to introduce to you is created by Kitchen Apron and Utensils Die. I have mentioned before that inspiration mostly come from our life. I will show you how to create an interesting kitchen themed project.
1. You will get one apron and some Cooking Utensils in this set. We need to cut out these patterns with the cutting machine firstly. You can use different colors of paper to cut out these patterns.
2. Create one background board of cards. I think the pure color is good, but adding some patterns will be better. I used embossing folders to get the words pattern with cutting machine.

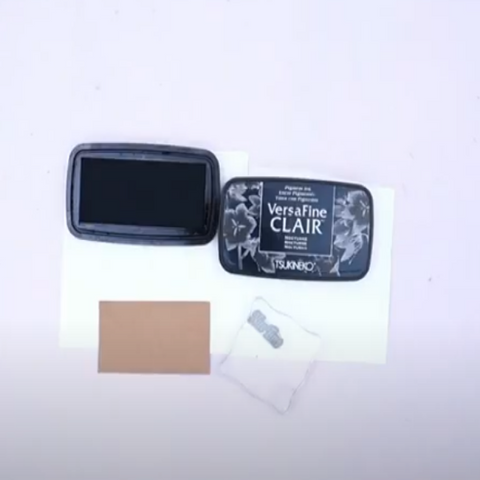
3. Use ink to make the words more clear.
4.Add some patterns onto the apron with clear stamp and stamp block. And we can use white powder to make this bird pattern more clear. Then use heater condition to fix the powder.


5. We can also use colourful pen to make our apron more good-looking.

6. Then we should start to stick all the elements onto the card.

7. Finally, add one theme words element onto the card.
Today’s tutorial class is over now. Hope it can help you crate stunning projects. If you have any questions, please feel free to contact with us. If you have nice projects and want to share with us. Please leave your comments on the below or email to us.
Thanks for your reading!


Leave a comment